Defarbing my Investarms Hawken Rifle.

Think I need to get me some of those. The Harbor Freight just down the road shows they have them in stock. Others recommend spot drills instead.

Not sure on the spot drills. They one sided? Coolness on the lather center bits is they are 2 sided. Cheap enough too. Had to sell my mills and lathes in moves but I'm in the new place probably tomorrow. Build another shop this spring and get another pair. I have had big equip, southbend lathe, knee mill etc but for hobbists like us the HF Grizzly stuff can "cut it" no pun intended.

OH, now a fess up I haven't been able to tell anyone in years. In building my Fusil de Chase I was mounting the sideplate. I put the front screw of the plate,,,, right in the ramrod channel!!!! I got ideas I can fix that but open to sugs too. It's Chiefs grade, premium curly maple, heck think the stock was over $300 15 years ago.
I can't remember when I read it but someone else's solution was to cut the front screw down short, put a threaded insert in the hole then reinsert the screw. The problem with that is you'll probably see at least some of the threaded insert depending on the sideplate you're using. That said another person cut the front screw down then epoxied it in place. In either case the rear screw will hold the lockplate in place the only problem with the epoxy approach is if you ever want to take the side plate off, you won't be able to.
 
So you scuffed up a perfectly good rifle?
Not that I would say so.
Defarbing is offered as a professional service, which is somewhat unfortunate in a number of respects.
It looks to me like a remediation of poor fit and finish work from the factory on a modern-manufactured classical style of firearm.
Or else it's more of a kit and you do the metalwork and woodwork yourself -- you can always file or sand material away from the parts that need to fit together, but it's not that desirable to end up with gaps and spaces that need to be filled or shimmed with other material somehow.
 
I can't remember when I read it but someone else's solution was to cut the front screw down short, put a threaded insert in the hole then reinsert the screw. The problem with that is you'll probably see at least some of the threaded insert depending on the sideplate you're using. That said another person cut the front screw down then epoxied it in place. In either case the rear screw will hold the lockplate in place the only problem with the epoxy approach is if you ever want to take the side plate off, you won't be able to.

That's what I was thinking would be the only way, cut and epoxy. However the threaded insert sounds like a good idea too.
 
Okay, have all the hardware finished, mounted everything to make sure all fit together.
If you remember here's what it looked like.

Investarms Hawken.jpg


Here's what it looks like now.

Finished Hawken1.jpg


Finished Hawken2.jpg


Finished Hawken3.jpg


Finished Hawken4.jpg
 
Looks great!
Ya know, looks like you and I are about the only ones on the forum interested in these old weapons.

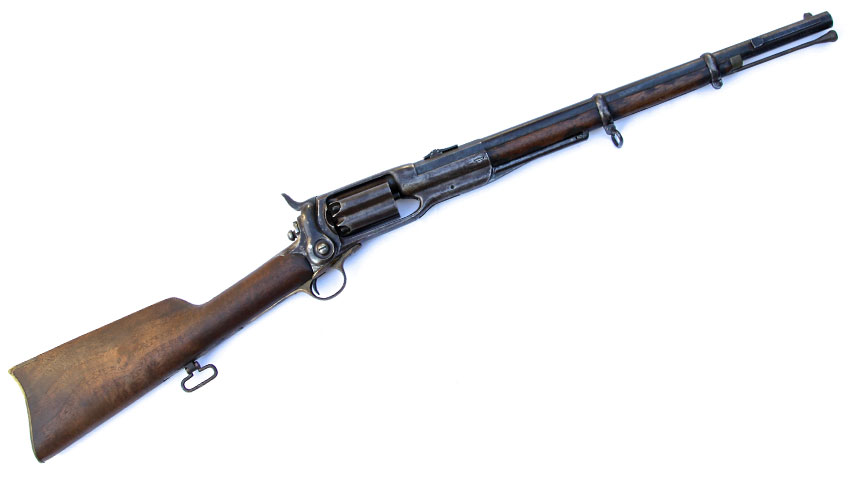
Sounds like it. Been watching some good movies. The Wild Boys and Legend of Ben Hall both about bushrangers downunder. Some very cool weapons. One pistol a "trevant" or something, handmade. Loading lever is flat bar and on the left of the barrel, pulls upward. Then there is a full stocked revolving rifle, long cylinder, big bore. I need one.
 
Yes it does, looks American walnut but could be Euro but got some good black. My property is covered in black walnut. Sold several thou of it. plenty left and many nuts. Not a good nut year this time though. I drive my truck over the hulls, dehusk, pressure wash, dry in the sun 2 weeks. Best ever. Take the nuts, band saw them and make the coolest buttons ever. I have one on my BP possibles bag if I can ever take pics again.

Seen many but mine come out just like this.

images
Nice!

Well did committed a serious screw up when drilling and attaching the buttplate. On the back hole the bit wandered too much an the hole is off center but that's not the worst, the worst is when drilling the pilot hole in the butt the drill bit snapped off down inside the pilot hole. Ordered another butt plate and I'll have to re-locate the back hole. Live and learn..........

Do you use a sharp punch and a center drill to start your holes?
They make a world of difference and your drill wont walk. The main reason a drill walks is because of a screwed up starting hole and the flex of the bit.
Get some of these and you'll have a much easier time of it and they're cheap.
Of course a drill press will make it even easier.

1612395119290.png
 
Yes it does, looks American walnut but could be Euro but got some good black. My property is covered in black walnut. Sold several thou of it. plenty left and many nuts. Not a good nut year this time though. I drive my truck over the hulls, dehusk, pressure wash, dry in the sun 2 weeks. Best ever. Take the nuts, band saw them and make the coolest buttons ever. I have one on my BP possibles bag if I can ever take pics again.

Seen many but mine come out just like this.

images
Nice!

Well did committed a serious screw up when drilling and attaching the buttplate. On the back hole the bit wandered too much an the hole is off center but that's not the worst, the worst is when drilling the pilot hole in the butt the drill bit snapped off down inside the pilot hole. Ordered another butt plate and I'll have to re-locate the back hole. Live and learn..........

Do you use a sharp punch and a center drill to start your holes?
They make a world of difference and your drill wont walk. The main reason a drill walks is because of a screwed up starting hole and the flex of the bit.
Get some of these and you'll have a much easier time of it and they're cheap.
Of course a drill press will make it even easier.

View attachment 452616

Thems what I use if I need a very accurate hole. Had 2 mills, I even used the mills which were even more accurate and easier to clamp to the table. They are actually lathe centering bits, instead of a chuck a plate and a dog are used and live centers at the ends.

They're used in lathes as well as mills.
Unless your drilling a hole with wide open tolerances you should always use a center drill but even if it's not a close tolerance hole using a center drill keeps your bit from chipping at the point.
This advice comes from 30 years of machining.
The more accurate the hole needs to be the more steps you take to make sure it comes out accurate.
When using a center drill the idea is to go just deep enough to still have a 60 degree angle for your finish drill with around .030 extra per side.
If you plan on reaming that hole you need to go a little deeper so your reamer has the same benefit of your final drill. For reaming you need to leave .015 or .020 in your hole depending on the material and depth of the hole.. Just enough to clean cut but not so much it clogs the reamer which will tear the surface.
Then there's drill reaming. Which is exactly what it sounds like. This technique is used when you need a somewhat accurate hole but not to the point of using a reamer which is an expensive cutting tool.
For this operation you should leave at least .200 on a hole say larger than an inch. How much you leave is dependant on the hole size. If you leave to little it'll burn the corners off your drill.
And then you get into carbid which is another whole ball game.
 
Okay, have all the hardware finished, mounted everything to make sure all fit together.
If you remember here's what it looked like.

View attachment 451706

Here's what it looks like now.

View attachment 451707

View attachment 451708

View attachment 451709

View attachment 451710
Yup, I know who Dixons is. :thup:
 

Forum List

Back
Top