
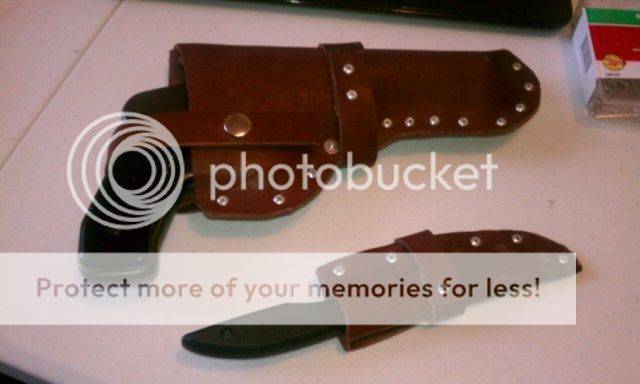
I bought a cheap Yugo mil-surp 26.5 flare gun with a Kenesaw 410/45 LC insert to carry as a snake gun/flare gun and wanted a holster for it. Of course none are available commercially so I decided to make one. I watched some Youtube videos, which gave me the general idea, but I didn't want to buy a bunch of specialty tools for a one time project and I don't know how to sew. So I used a hand riveter, some shears, and a set of hand set snaps from walmart that included the setting tool. I did buy a rotary hole puncher from the hardware store for $10.
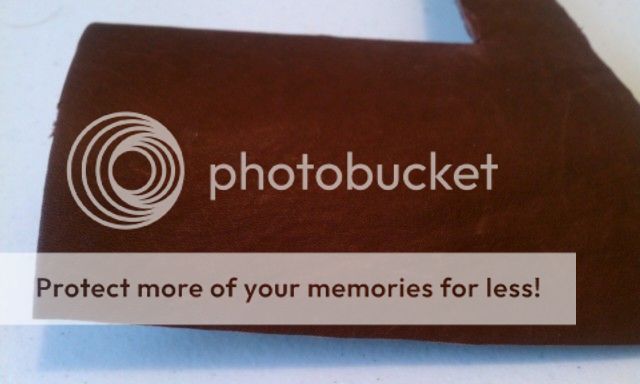
I bought the leather at Amazon from a third party seller. It was 4 mil thick and 12" x 24". Here is the link (don't know how long it will work) Amazon.com Scrap Lace Leather Dark Brown Cowhide 10 X 18 Piece L301. ($14 + $5 s/h)
I had some left over leather, so I made a leather sheath to replace a cheap nylon factory sheath that was falling apart.
If you need a quick and dirty leather holster or sheath, here's a place to start:
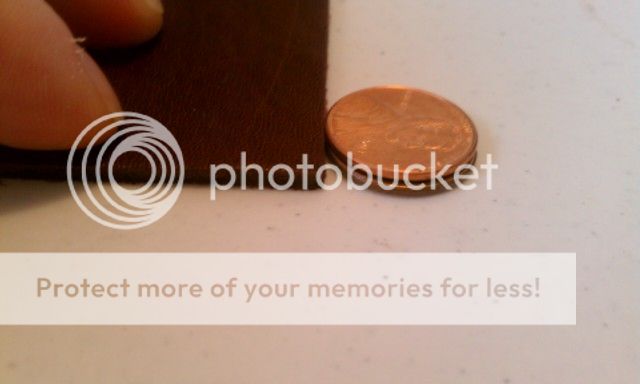
This is a piece of the leather I used with a couple of pennies for scale:
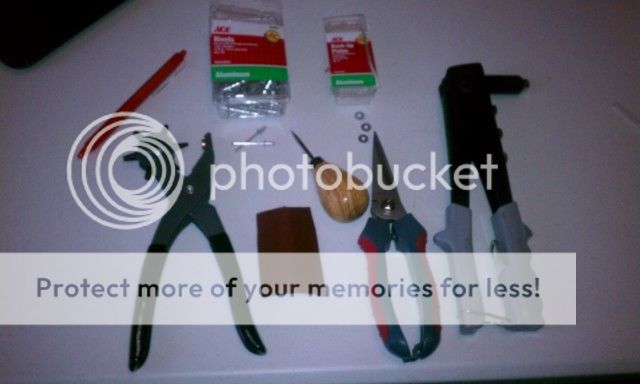
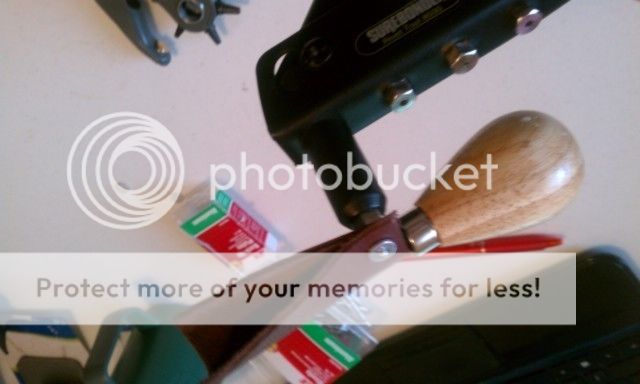
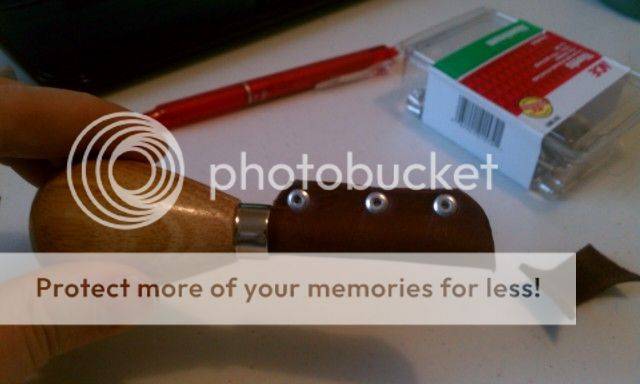
Here are the tools you'll need:
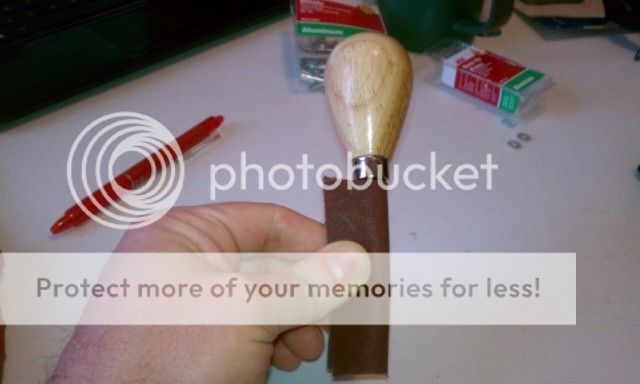
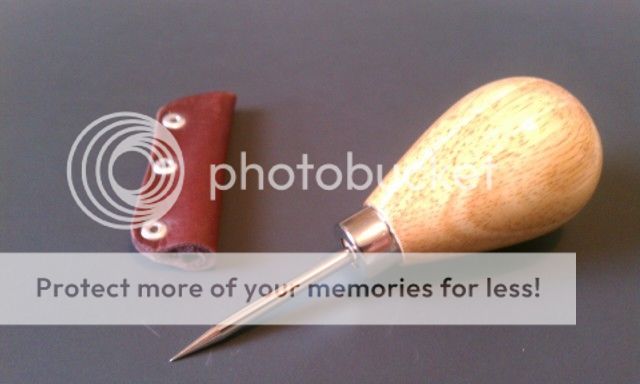
The awl is extremely sharp, so I'm making a sheath for it out of scrap. Here it goes.
Fold the leather over the object. Get it nice and tight.
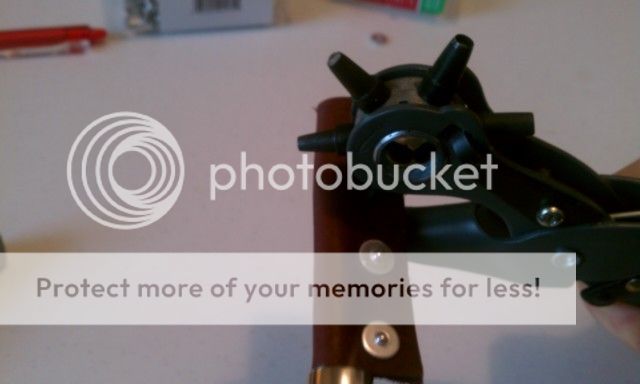
Use the hole punch or awl to make your rivet hole. Remember to leave room for the backer.
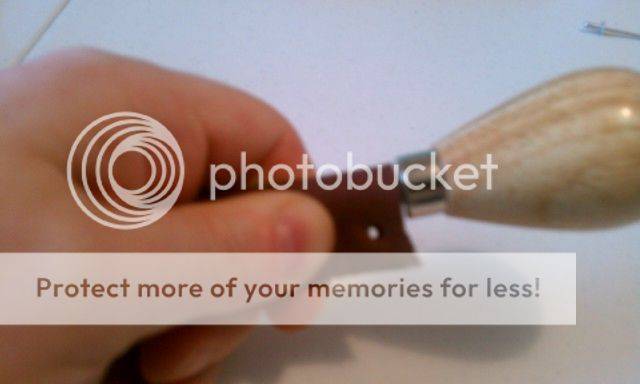
Insert a rivet and put a backer on the back side. That's important...make SURE the rivet pin is sticking out to the front side of the holster or sheath. If you look back at the holster I made, you can see where I made a mistake right above the band that holds the belt loop...there is a backer on the front side (Oops!). Don't do that.
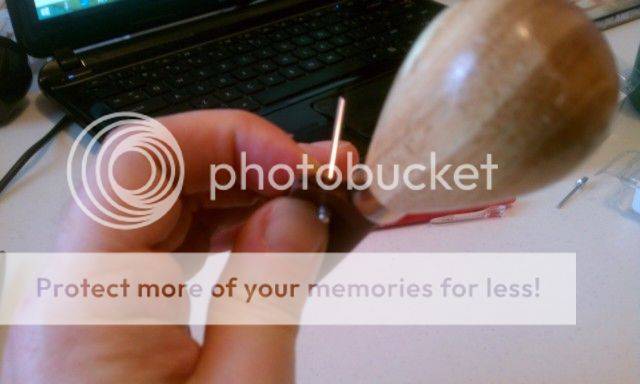
Use your riveter to secure the rivet.
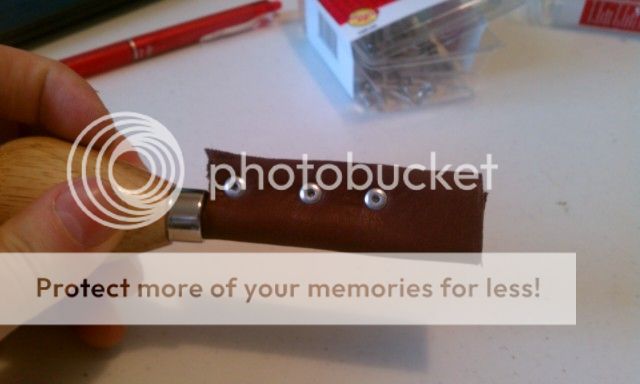
Repeat. You can measure and mark you holes if you want a neater result...I just wanted something that worked. Up to you.
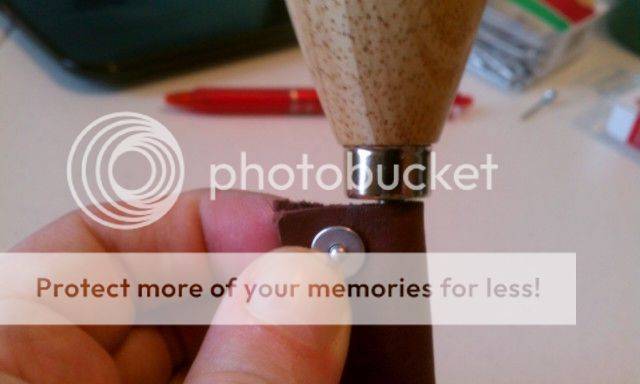
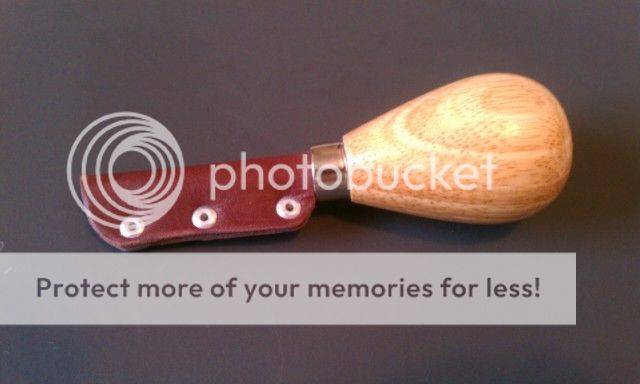
Done riveting.
Now cut to shape. I cut this one close because it is going in a tool box, but on the holster and sheath I left a margin...again, up to you.
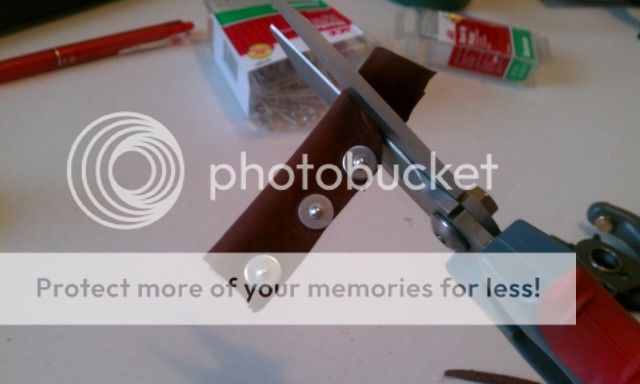
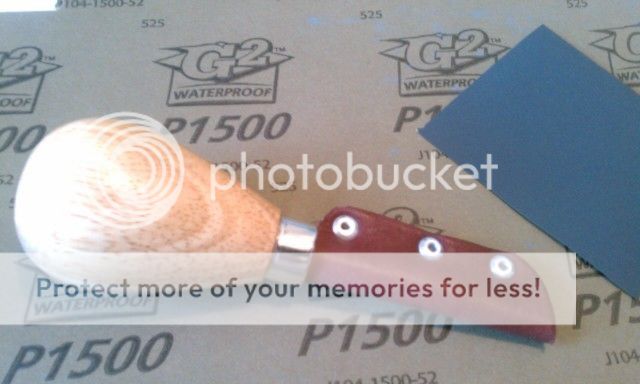
You can leave it there, or, with some 600 to 1500 grit sandpaper, you can blend and bevel the riveted edge.
All done!
I bought the leather at Amazon from a third party seller. It was 4 mil thick and 12" x 24". Here is the link (don't know how long it will work) Amazon.com Scrap Lace Leather Dark Brown Cowhide 10 X 18 Piece L301. ($14 + $5 s/h)
I had some left over leather, so I made a leather sheath to replace a cheap nylon factory sheath that was falling apart.
If you need a quick and dirty leather holster or sheath, here's a place to start:
This is a piece of the leather I used with a couple of pennies for scale:
Here are the tools you'll need:
- Either a rotary hole puncher ($9.99) or an awl ($2.39)
- Hand riveter ($12). I've used this on many other projects like the boat restoration (before and after) and the Franken-tractor.
- Shears
- 1/8 inch aluminum rivets with a 1/16 to 1/8 grip range ($7.99 for 100 ct..I have 60 left over)
- 1/8 inch aluminum rivet backers ($2.69 for 30 ct...used them all on these 3 projects)
- Pen, pencil or sharpie
- Something to measure with
- Leather
Fold the leather over the object. Get it nice and tight.
Repeat. You can measure and mark you holes if you want a neater result...I just wanted something that worked. Up to you.
Now cut to shape. I cut this one close because it is going in a tool box, but on the holster and sheath I left a margin...again, up to you.
You can leave it there, or, with some 600 to 1500 grit sandpaper, you can blend and bevel the riveted edge.
Last edited:


 Mine came in yesterday. I had a precut kit to put together. Worked great. It made it super easy. Only stuck myself once


